Alright, so you're thinking about some new concrete around your place here in Orem. Maybe it's a cracked driveway that's become an eyesore, or you're finally ready for that backyard patio you've been dreaming of. Concrete flatwork – that's your driveways, patios, sidewalks, garage floors – it looks simple enough, right? Just pour it and smooth it out. Well, there's a bit more to it than that, and knowing what you're getting into can save you a lot of headache and money.
Before You Start: Planning & Prep
This is probably the most critical stage, whether you're doing it yourself or hiring someone. You can mess up a lot of things during the pour, but if your prep is bad, the whole thing is doomed from the start. First off, what's the purpose? A sidewalk for light foot traffic is way different from a heavy-duty RV pad. That dictates the thickness, the rebar or wire mesh you'll need, and even the concrete mix itself.
DIY Prep:
- Measure and Mark: Get your dimensions down. Use stakes and string to outline the area.
- Excavation: You'll need to dig out the area. For a typical 4-inch slab, you'll want to dig down at least 6-8 inches to allow for a good gravel base. If you're building in an area like the older parts of Orem, say near Geneva Road, where the soil can be a bit more clay-heavy, proper excavation and a robust gravel base are non-negotiable to prevent future cracking from ground movement.
- Base Material: This is huge. A 4-inch layer of compacted gravel (road base or similar) is your best friend. It provides drainage and a stable foundation. Rent a plate compactor – don't skip this.
- Formwork: You need to build sturdy forms out of wood (2x4s or 2x6s, depending on slab thickness) to hold the concrete in place. Make sure they're level and securely staked.
- Reinforcement: For most flatwork, you'll want rebar or wire mesh. Rebar is stronger for heavier loads. It needs to be lifted into the middle of the slab during the pour, not just laid on the ground.
When to Call a Pro for Prep: If you've got a really big area, complex shapes, or if you're dealing with significant slopes that need grading, a professional is going to save you a ton of time and backache. They've got the right equipment for excavation and grading, and they know how to set up forms perfectly level and square.
During the Pour: The Concrete Itself
This is where things get fast and furious. Concrete doesn't wait for anyone. Once it's mixed, you've got a limited window to get it in place and finished.
DIY Pour:
- Ordering Concrete: You'll need to calculate the cubic yards needed (length x width x thickness in feet, divided by 27). Add about 10% for good measure. Specify the PSI (pounds per square inch) – 3000-3500 PSI is common for driveways and patios.
- Getting it in Place: You'll need a crew. Seriously, don't try to do this alone. Wheelbarrows are your friends, but they're heavy.
- Screeding: Use a long, straight board (a 2x4 works) to level the concrete, moving it back and forth across the forms.
- Floating: After screeding, use a bull float or hand float to bring the cream to the surface and smooth out imperfections.
- Edging and Grooving: Use an edger tool along the forms and a groover to create control joints. These joints are crucial; they encourage cracks to form in specific, less noticeable places.
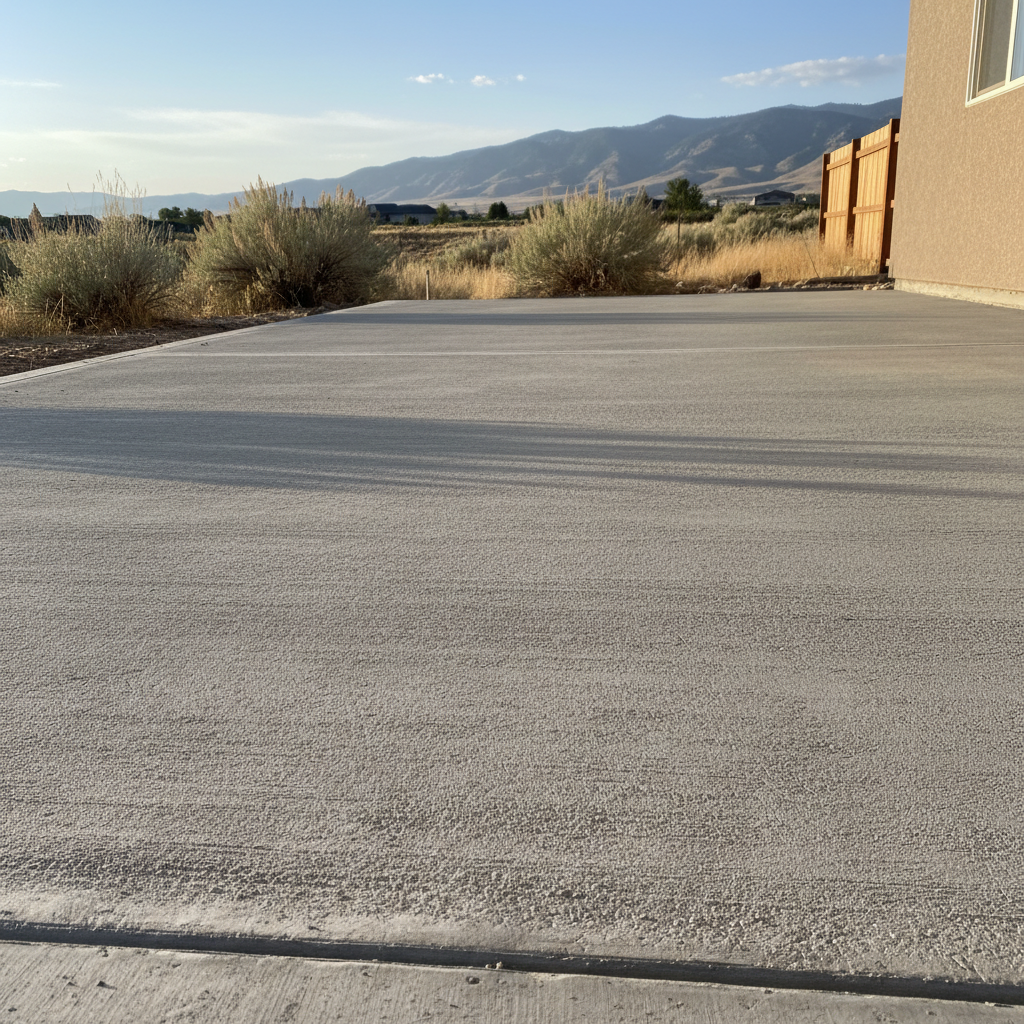
- Finishing: This is the art. Depending on the finish you want (broom finish for traction, smooth trowel for a garage floor), you'll use different tools and techniques. This takes practice.
When to Call a Pro for the Pour: Almost always, for anything beyond a small, simple pad. Pouring and finishing concrete is a skill developed over years. Getting the right consistency, knowing when to float, when to trowel, how to get a perfect broom finish – it's not something you pick up in an afternoon. If you mess up the pour, you've got a permanent, ugly problem. We've seen plenty of DIY pours turn into expensive tear-outs because someone underestimated the difficulty. That's where a company like Utah Valley Concrete really shines; we've got the experience and the crew to get it done right, fast.
After the Pour: Curing & Care
You're not done once the concrete is smooth. How you treat it in the first few days and weeks makes a huge difference in its strength and longevity.
DIY Aftercare:
- Curing: Concrete doesn't dry; it cures. This is a chemical process that needs moisture. Keep it wet for at least 3-7 days, especially when it's hot and dry here in Utah Valley. You can use a sprinkler, cover it with plastic sheeting, or apply a liquid curing compound.
- Protection: Keep traffic off it for at least 24-48 hours for foot traffic, and 7 days for vehicles. Full strength isn't reached for about 28 days.
- Sealing: After the concrete has fully cured (usually 28 days), consider applying a good quality concrete sealer. This protects against stains, moisture, and freeze-thaw cycles, which are definitely a thing around here during our Orem winters.
When to Call a Pro for Aftercare: While most of the aftercare is pretty straightforward, a professional can advise on the best curing methods and sealers for your specific project and local conditions. They'll also spot any issues that might arise during the initial curing phase.
Look, I'm all for homeowners tackling projects, and some things are absolutely within your reach. But concrete flatwork, especially anything larger than a small AC pad, is a big undertaking. The cost of materials alone is significant, and if you mess it up, you've wasted time, money, and you're left with a concrete slab that's going to annoy you for years. Sometimes, knowing when to call in the experts isn't giving up; it's being smart. Give us a call at Utah Valley Concrete if you're looking for a quote or just want to talk through your project ideas. We're happy to help you figure out the best path forward.