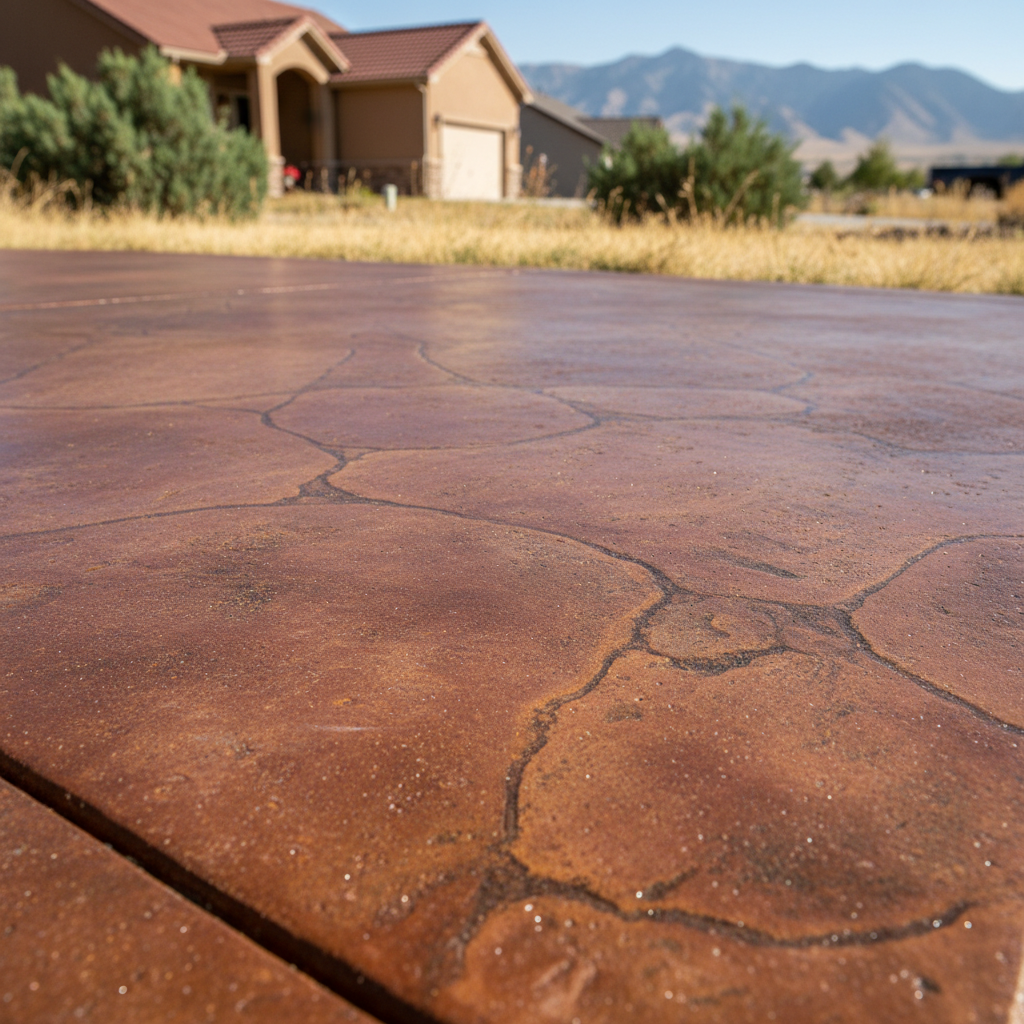
So, you're thinking about staining some concrete around your Orem home, huh? Maybe it's that old, drab patio, or a basement floor you want to spruce up. Concrete staining can totally transform a space, giving it a whole new look without the tear-out-and-replace hassle. But let's be real, it's not always as simple as slapping on some paint. I've seen a lot of DIY staining jobs – some look great, others… well, let's just say they end up needing a pro to fix 'em. Here's what you need to know before you even buy a drop of stain.
Before You Start: Planning & Prep Are Everything
This is where most DIY staining projects go sideways. You can't just stain over dirty, greasy, or sealed concrete and expect good results. The concrete has to be clean, porous, and ready to accept the stain. If it's not, you're just wasting your time and money.
- Clean, Clean, Clean: Seriously, this is 90% of the battle. You'll need a good degreaser for oil spots, maybe a power washer for outdoor surfaces, and definitely a thorough scrub. For indoor floors, remove all furniture, sweep, vacuum, then mop with a pH-neutral cleaner. Any old paint, glue, or sealer has to come off. If you've got existing sealer, you'll need to strip it, and that's a whole job in itself.
- Fix Any Damage: Got cracks, spalling, or uneven spots? You'll need to address those first. Keep in mind that repairs will often show through the stain differently than the original concrete. This isn't necessarily bad; it can add character, but you need to be aware of it.
- Understand Your Concrete: Is it new? Old? Has it been sealed before? Different concrete reacts differently to stain. New concrete needs to cure for at least 28 days. Old concrete might have hidden contaminants. And if it's been sealed, that sealer has to go.
- Test, Test, Test: Always, always do a test patch in an inconspicuous area. This is crucial for seeing how the stain will look on your specific concrete and how it'll absorb. You might think you want a dark walnut, but on your concrete, it could turn out almost black or a weird reddish-brown.
- Pick Your Stain Type: There are two main types for DIYers: acid-based and water-based.
Acid Stains: These react chemically with the minerals in the concrete, creating translucent, mottled, earthy tones (think browns, tans, greens, blues). They're permanent and won't chip or peel. The downside? The color is somewhat unpredictable because it depends on the concrete's mineral content. You don't have a lot of control over the exact shade, and they require neutralizing after application.
Water-Based Stains: These are more like a translucent paint. They don't react chemically but rather soak into the surface. You get a wider range of colors, and the color is more consistent and predictable. They're easier to apply and clean up, and you don't need to neutralize them. The downside? They can sometimes look a bit less natural than acid stains, and they might not be as durable if not properly sealed.
During the Project: Application & Patience
Once your concrete is prepped and you've chosen your stain, it's time to put it down. This isn't a race; take your time.
- Protect Everything: Stain gets everywhere. Tape off walls, cover plants, protect adjacent surfaces. You don't want a permanent stain on your baseboards or your prize-winning petunias, do you?
- Apply Evenly: Use a sprayer for acid stains to avoid lap marks. For water-based, a sprayer or roller can work. Put it on in thin, even coats. It's always better to do two thin coats than one thick, blotchy one. Overlapping too much or letting it puddle will create darker spots you can't fix.
- Ventilation: Especially indoors, make sure you have good airflow. Stains, even water-based ones, can have fumes.
- Neutralize (for Acid Stains): Don't skip this step! After the acid stain has reacted for the recommended time, you need to neutralize it with an ammonia or baking soda solution. If you don't, the acid keeps working, and it can weaken your sealer later on.
- Rinse Thoroughly: After neutralizing (or after the water-based stain has dried), you'll need to rinse off all residue. This can be a lot of dirty water, so plan for drainage.
After the Stain: Sealing is Non-Negotiable
You've done all that work, don't mess it up now! Sealing is absolutely critical. It protects the stain, makes the concrete easier to clean, and enhances the color.
- Allow Proper Drying: The concrete needs to be completely dry before you seal it. This can take a day or two, sometimes longer, especially in Orem's spring or fall when humidity can be higher or temperatures cooler. Don't rush it.
- Choose the Right Sealer: For outdoor areas, you'll want a durable, UV-resistant sealer. Acrylic sealers are common and come in various finishes (matte, satin, gloss). For indoor floors, you might want a more abrasion-resistant epoxy or urethane topcoat, especially in high-traffic areas.
- Apply Evenly: Just like the stain, apply sealer in thin, even coats. Two thin coats are better than one thick one. Avoid puddles and bubbles.
- Maintenance: Even sealed concrete needs care. Sweep regularly, mop with pH-neutral cleaners, and reapply sealer every few years, depending on traffic and exposure.
DIY or Pro? When to Call Utah Valley Concrete
Look, staining a small, clean, unsealed patio or a simple basement floor can definitely be a DIY project if you're patient and careful. If you're okay with a slightly less predictable, more organic look, and you're willing to put in the prep work, go for it.
However, if you're dealing with a large area, concrete that's heavily contaminated with oil or old sealers, or if you want a very specific, uniform color that's hard to get with DIY products, that's when you call in the pros. We've got the industrial-grade cleaners, the experience with different concrete types, and the techniques to get consistent results. Trying to strip an old, failed sealer off a large driveway or trying to get a perfectly even color on a massive commercial floor? That's a job for us. We've seen homeowners spend a ton of money on DIY supplies only to end up with a mess they then pay us to fix. Sometimes, hiring a professional upfront saves you headaches and money in the long run. Give Utah Valley Concrete a call if you're unsure, we're always happy to talk through your project.